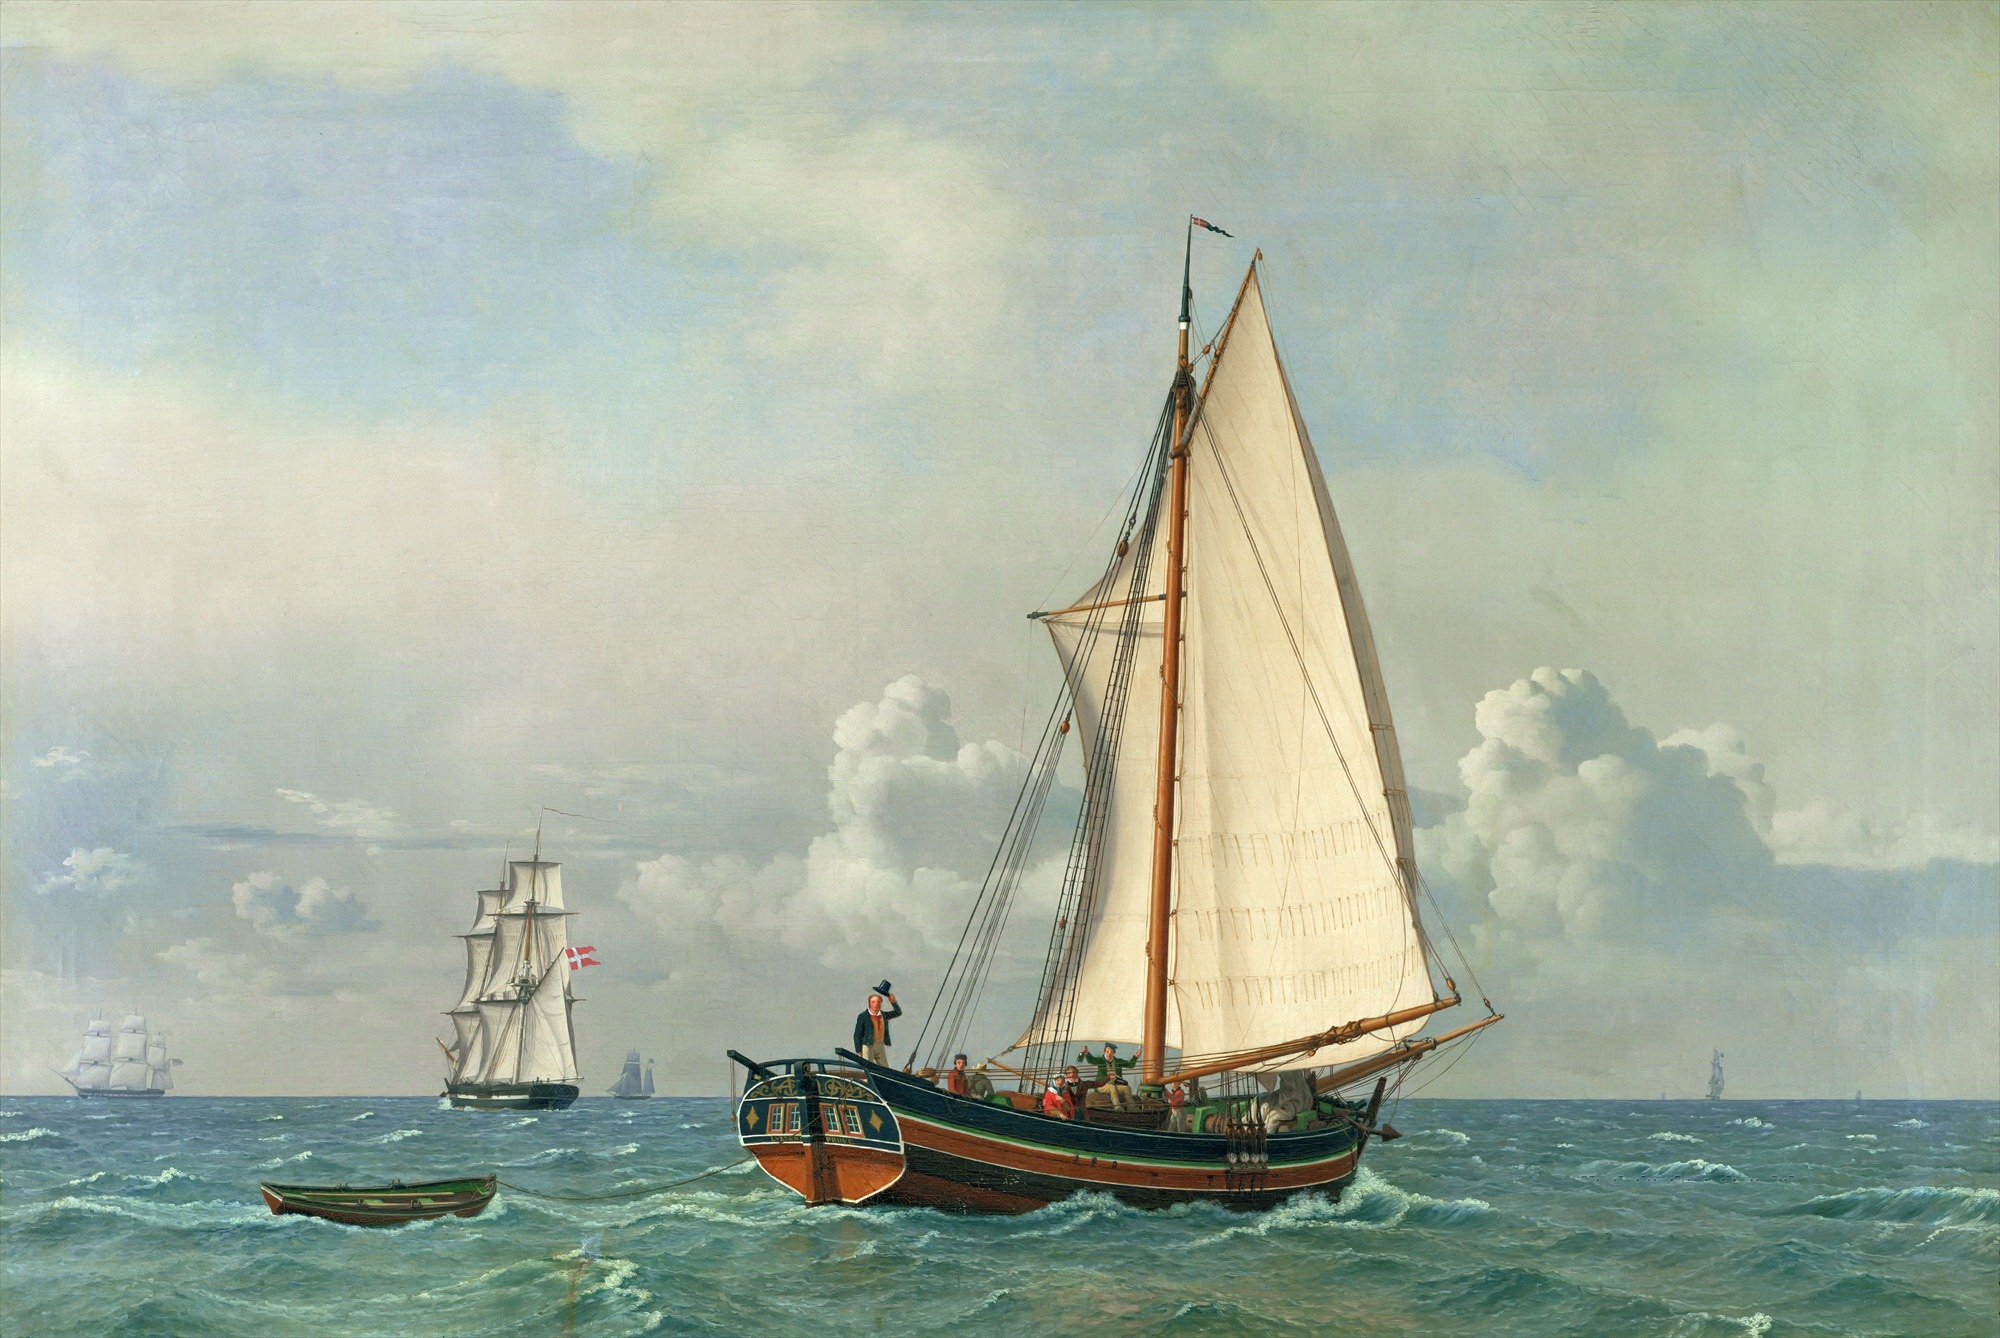
Re: Pomeranian Rahschlup 1846 � 1/160 scale � Baltic trader
Posted: Sat Nov 15, 2025 1:50 pm
Hawse-pipes
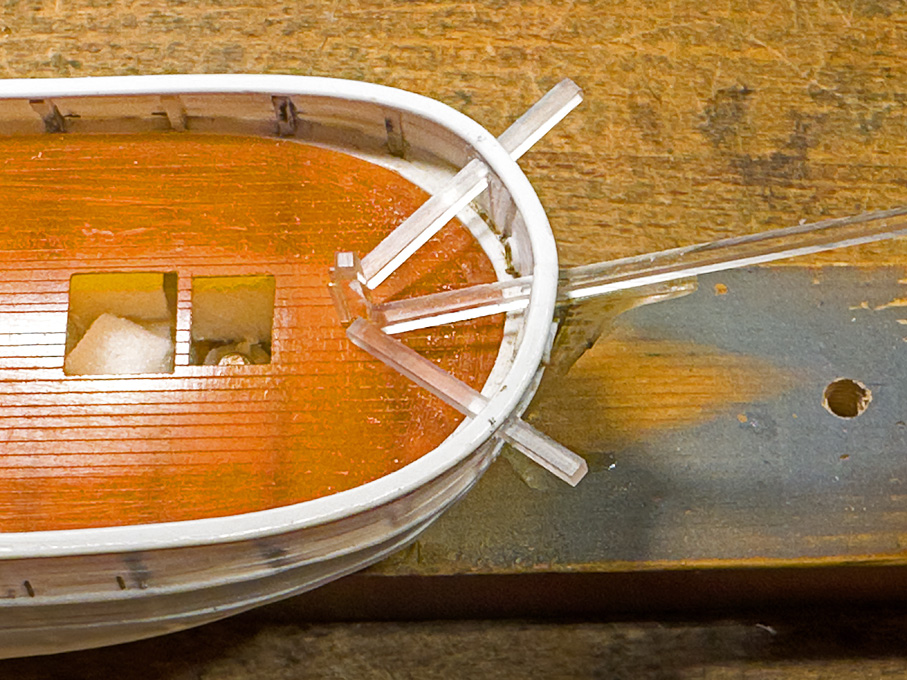
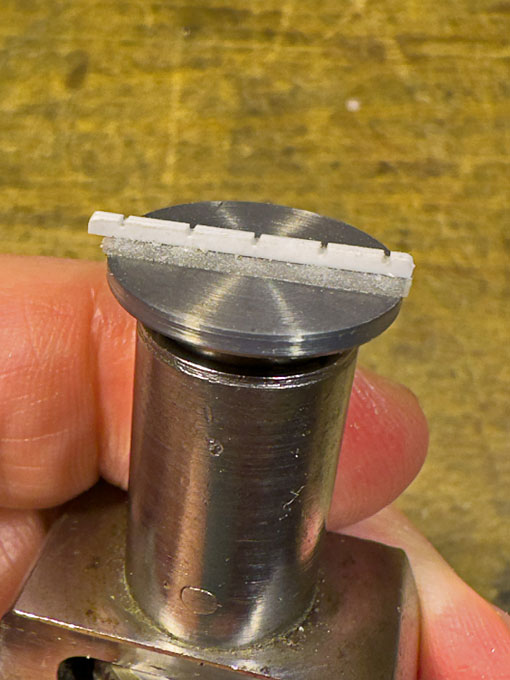
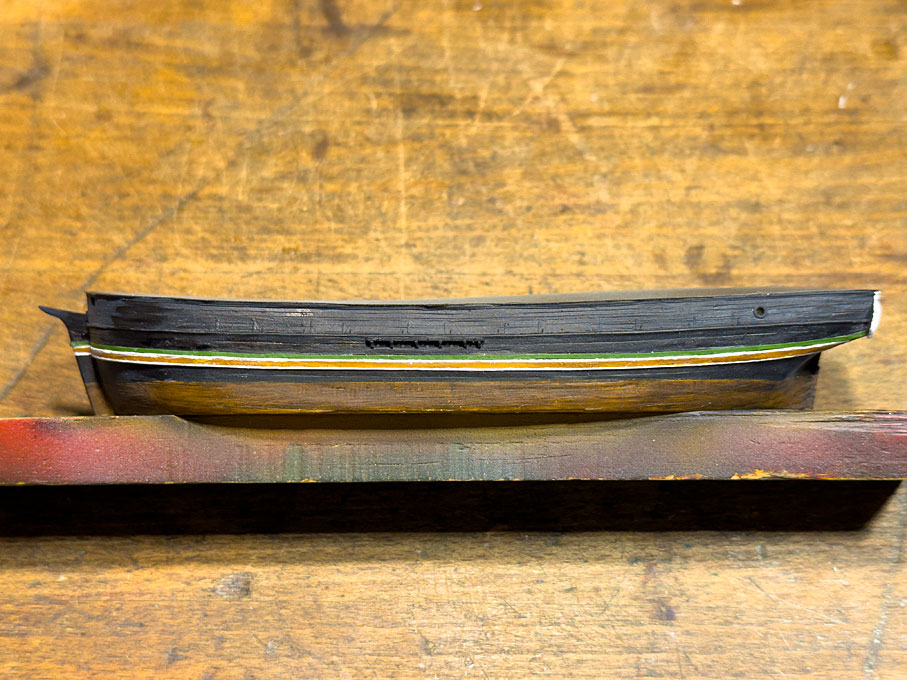
As I was dealing with fairleads through the bulwark, I decided to continue with the hawse-pipes as well. After some deliberation, I also decided to go fully ‘plastic’. In the past I fashioned the hawse-pipes and the entry-/exit-reinforcements from brass tubes with rings soldered on.
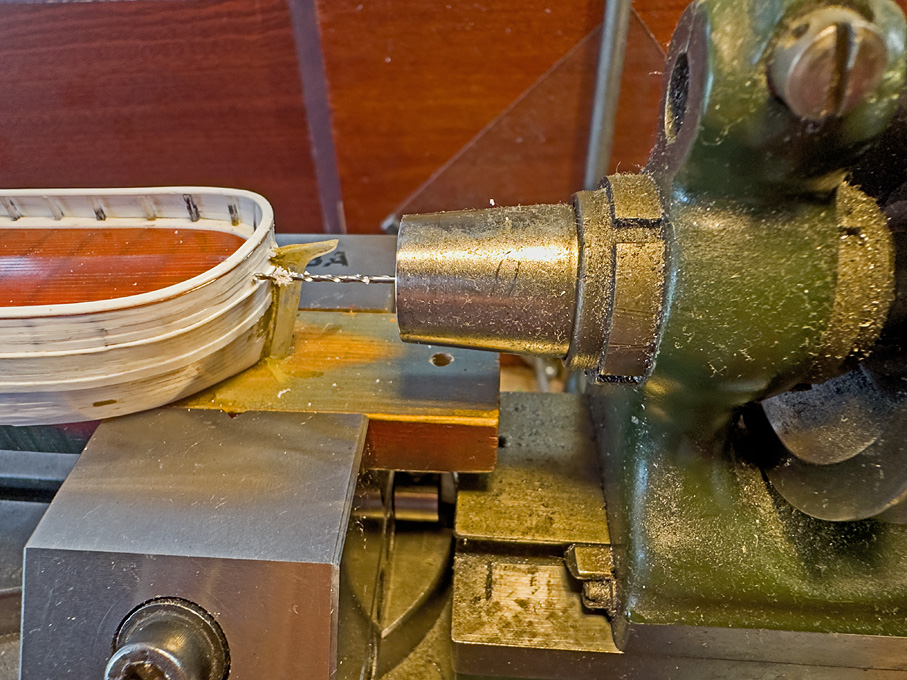
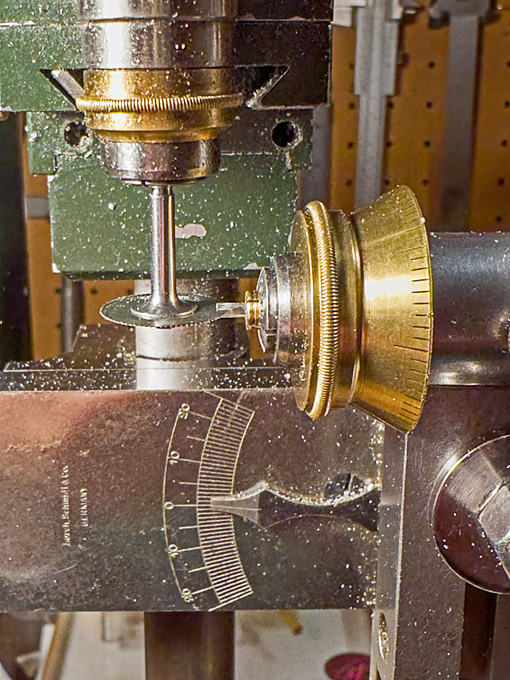
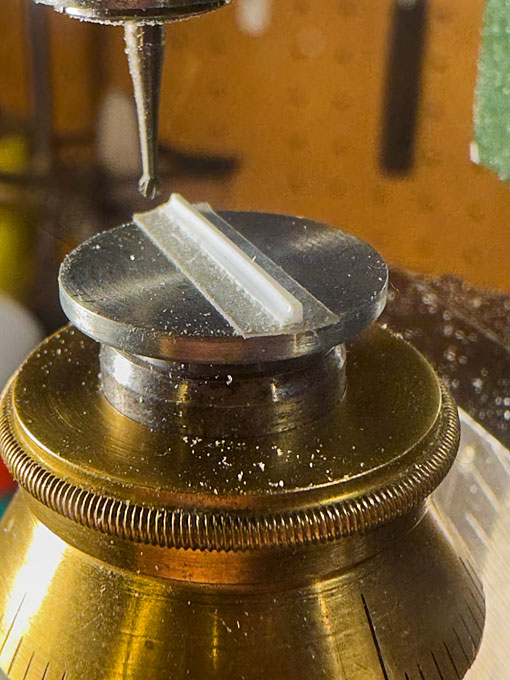
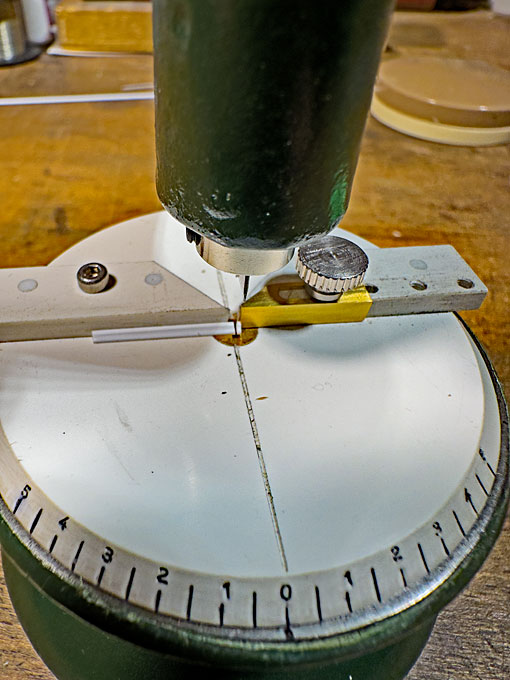
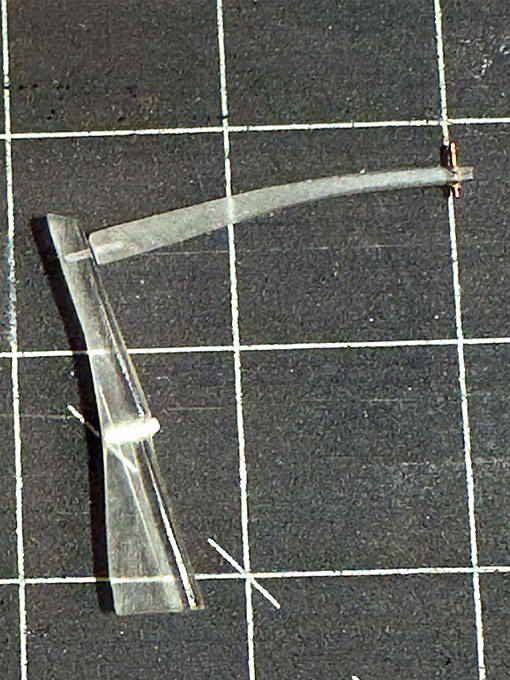
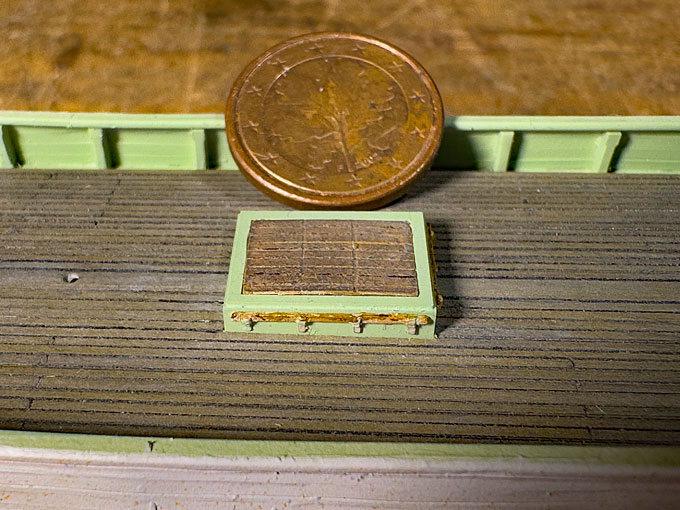
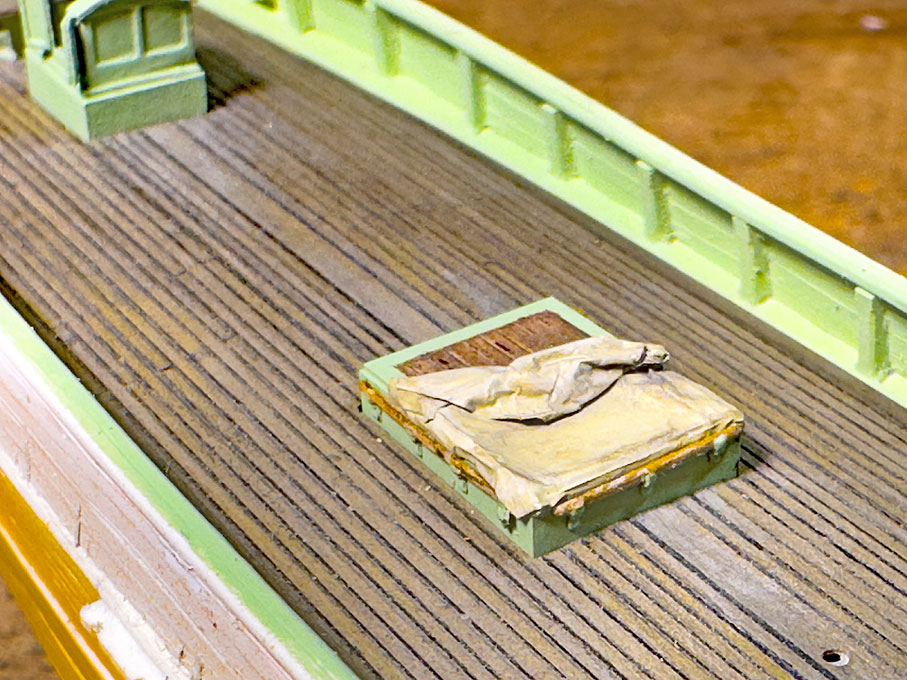
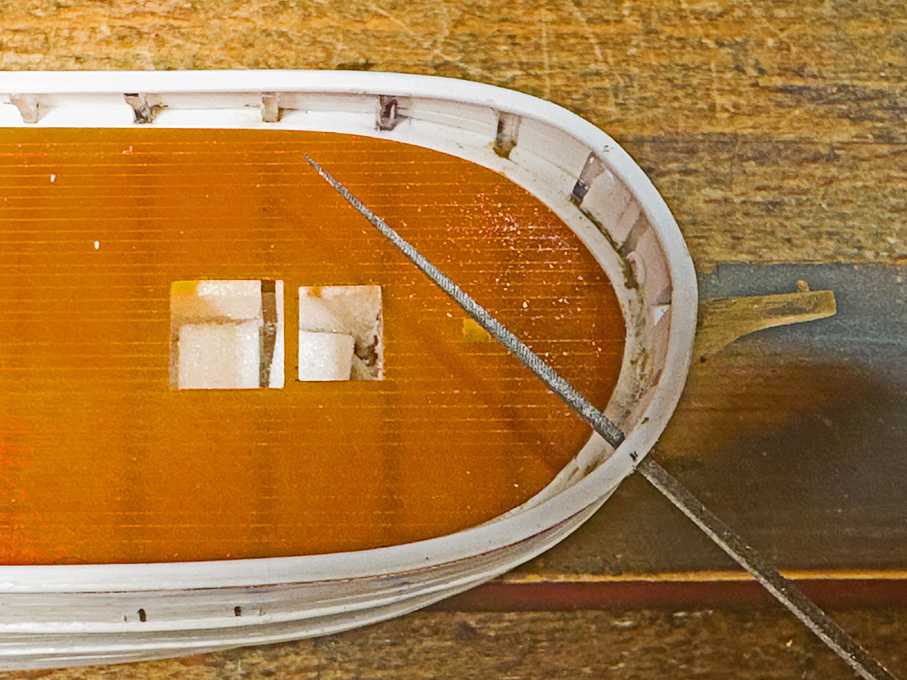
Set-up in the horizontal milling machine for drilling the hawse-pipes
Here the actual pipes are very short and go through a massive layer of polystyrene. So, a separate pipe is not really needed. For drilling the 1 mm holes, the model was set up on the horizontal milling machine. The reinforcement rings were cut from 0.5 mm diameter polystyrene rod (or perhaps rather wire). To this end, the polystyrene wire was wound around a 0.9 mm drill-shaft, which was easier than expected, and then the springiness was taken out by slightly tempering it at 100°C with my hot-air soldering gun. From this spiral, the rings were cut.
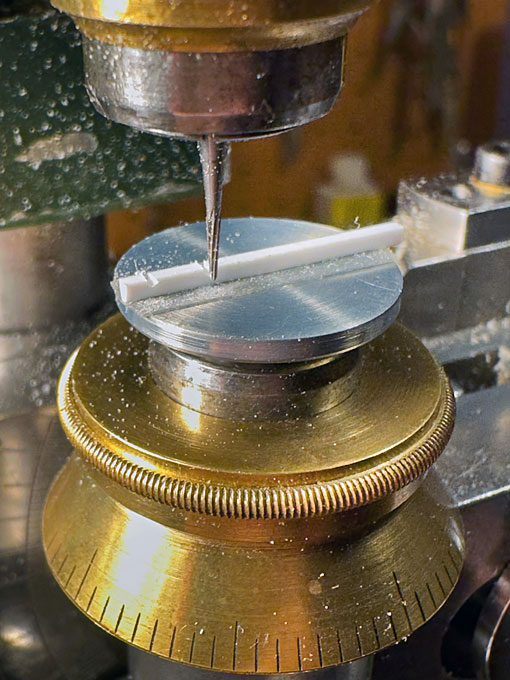
The rings then were sanded flat on one side and cemented to the bulwark outside and inside. A first try with polystyrene cement was not very successful, as the ring began to spread open upon contact with the solvent. I then used the artificial-nail cement, composed of acrylic solution and cyanoacrylate.
After the cement had cured, the hole needed to be bored out again and smoothed.
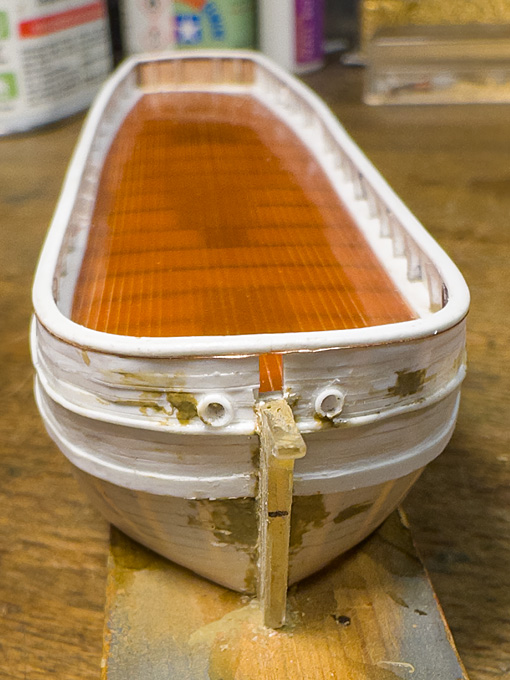
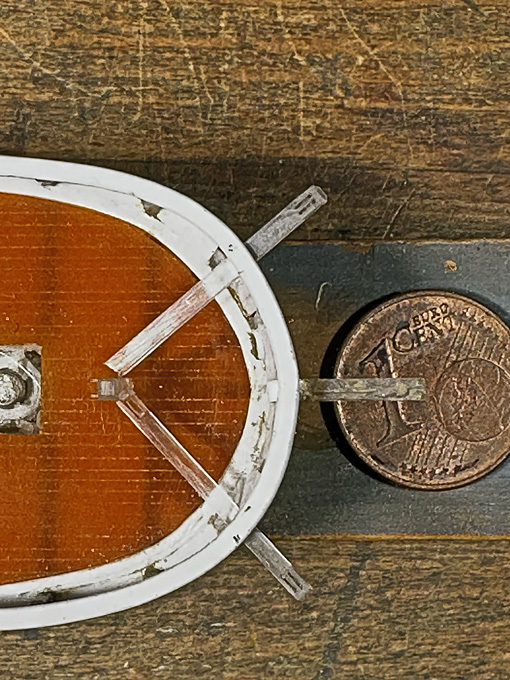
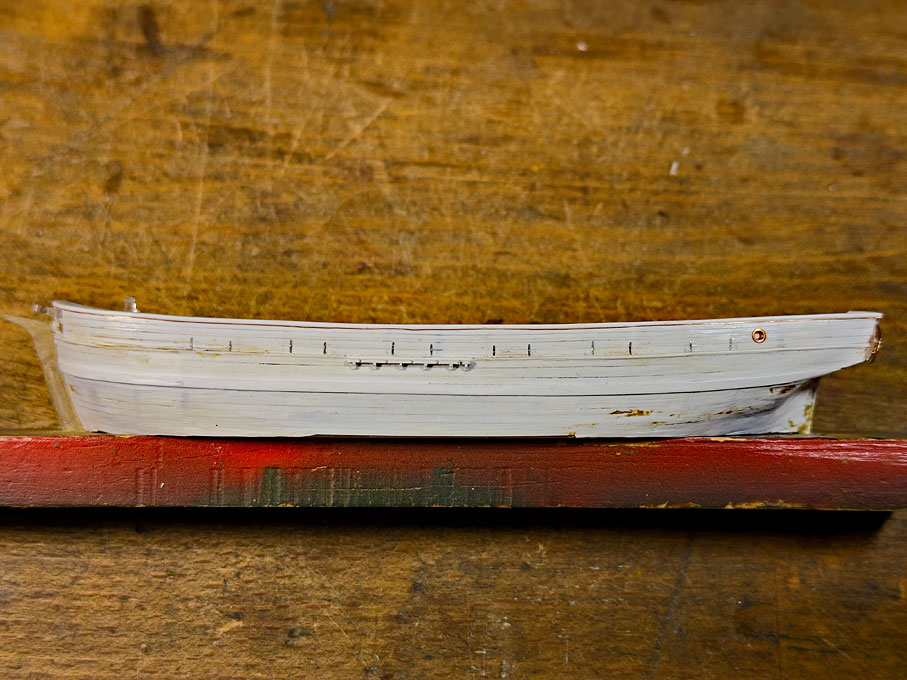
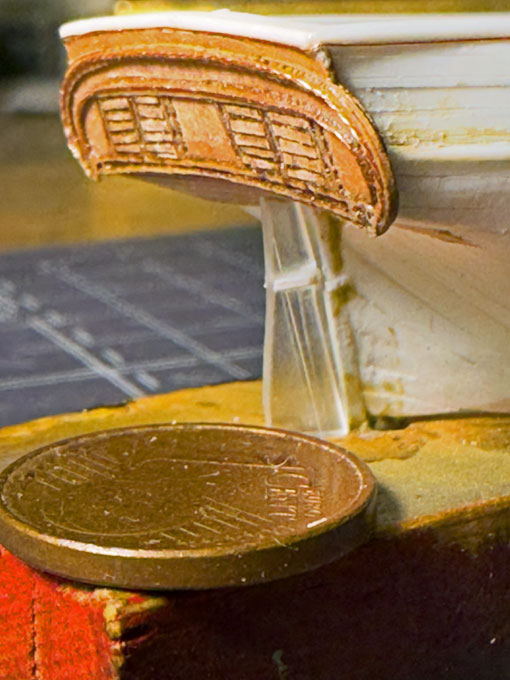
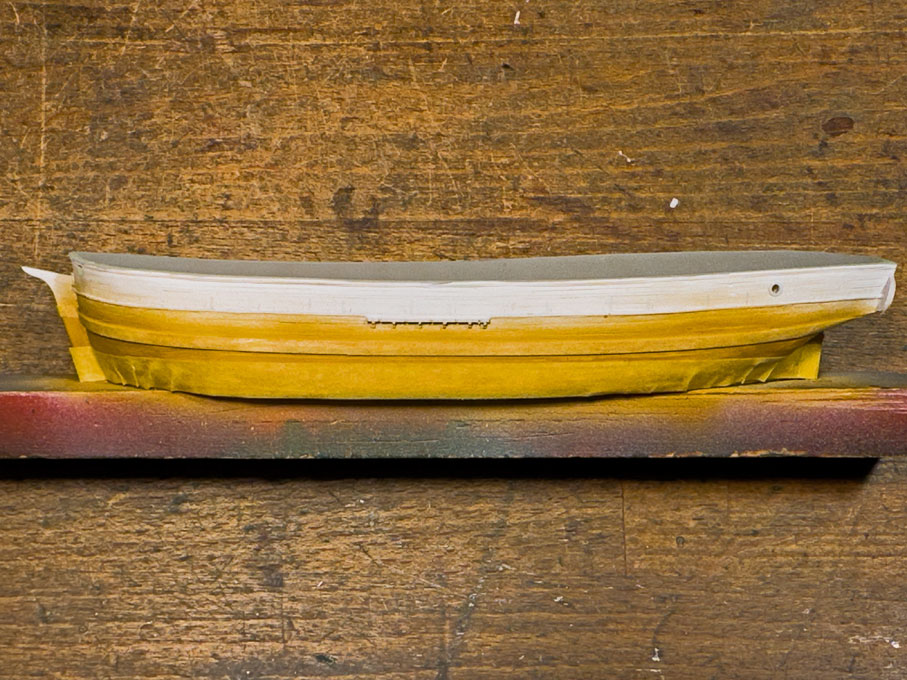
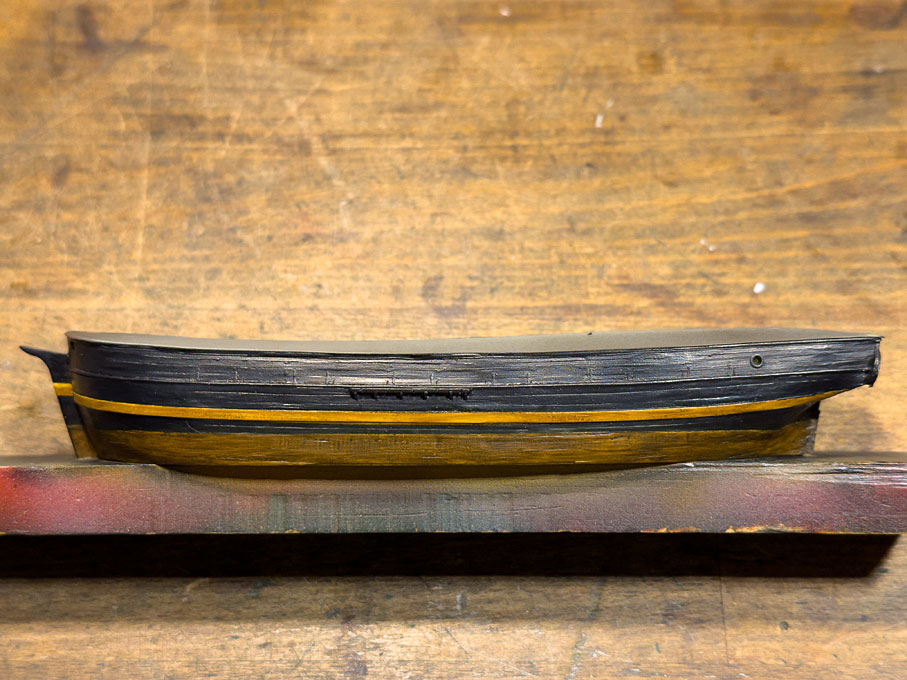
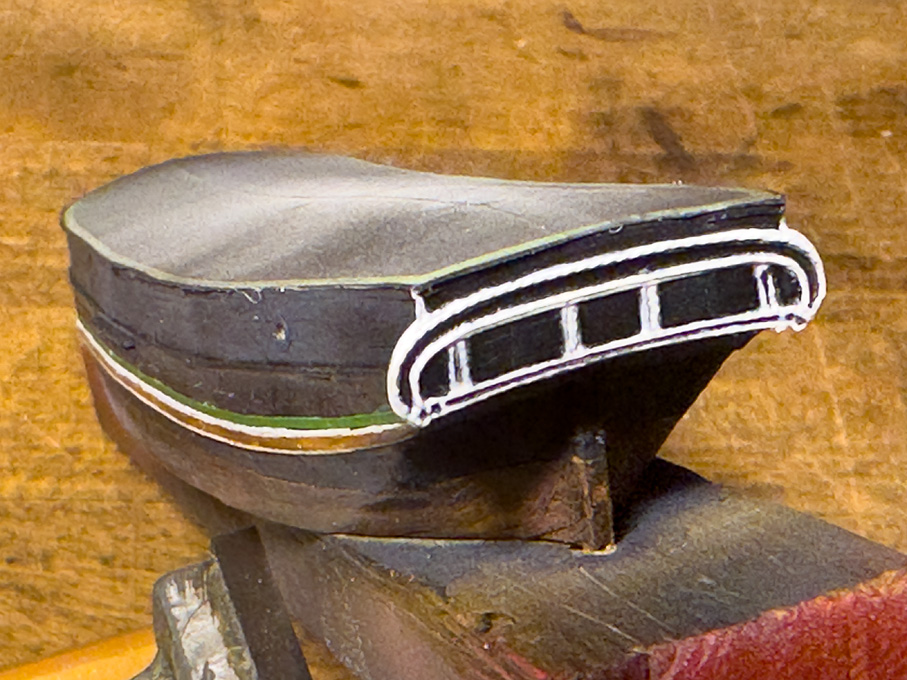
Outboard view of the hawse-pipes
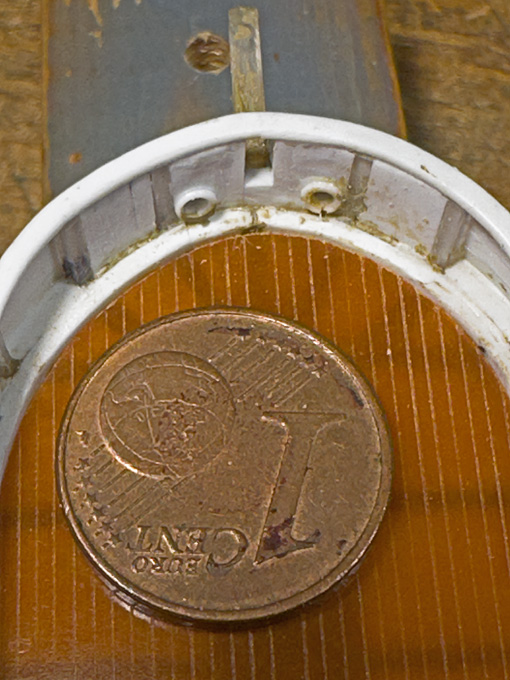
Inoard view of the hawse-pipes
As sobering these close-ups are with respect to cleanliness and crispness of the execution of the work are, they also show strikingly, where touching-up is really needed – not something that one sees very easily even using magnifying glasses.
To be continued …
As I was dealing with fairleads through the bulwark, I decided to continue with the hawse-pipes as well. After some deliberation, I also decided to go fully ‘plastic’. In the past I fashioned the hawse-pipes and the entry-/exit-reinforcements from brass tubes with rings soldered on.
Set-up in the horizontal milling machine for drilling the hawse-pipes
Here the actual pipes are very short and go through a massive layer of polystyrene. So, a separate pipe is not really needed. For drilling the 1 mm holes, the model was set up on the horizontal milling machine. The reinforcement rings were cut from 0.5 mm diameter polystyrene rod (or perhaps rather wire). To this end, the polystyrene wire was wound around a 0.9 mm drill-shaft, which was easier than expected, and then the springiness was taken out by slightly tempering it at 100°C with my hot-air soldering gun. From this spiral, the rings were cut.
The rings then were sanded flat on one side and cemented to the bulwark outside and inside. A first try with polystyrene cement was not very successful, as the ring began to spread open upon contact with the solvent. I then used the artificial-nail cement, composed of acrylic solution and cyanoacrylate.
After the cement had cured, the hole needed to be bored out again and smoothed.
Outboard view of the hawse-pipes
Inoard view of the hawse-pipes
As sobering these close-ups are with respect to cleanliness and crispness of the execution of the work are, they also show strikingly, where touching-up is really needed – not something that one sees very easily even using magnifying glasses.
To be continued …


